
Screen printing is one of the most popular methods for putting custom designs on apparel, and for good reason. The prints are vibrant, durable, and hold up wash after wash. But how does screen printing work on t-shirts, exactly? Whether you’re curious about the process behind your favorite branded tee or you’re considering ordering custom printed shirts for your business, understanding the basics helps you make smarter decisions about your order.
At Dr. Tee’s Design & Screen Printing, we’ve been screen printing custom apparel in Kansas City for over 20 years. We’ve printed everything from small runs of 12 shirts for a local landscaping crew to large orders of 1,000 pieces for company-wide rollouts. That hands-on experience has given us a thorough understanding of every step in the process, from preparing artwork to pulling the final print off the press.
This guide breaks down the screen printing process step by step, covering how screens are made, how ink is applied, and what makes a print last. We’ll also touch on the differences between DIY screen printing and professional production, so you can figure out which approach fits your situation. By the end, you’ll know exactly what goes into creating a quality screen-printed t-shirt, and what to look for when you’re ready to place an order.
What screen printing is and when to use it
Screen printing is a stencil-based printing method where ink is pushed through a mesh screen directly onto fabric. Each color in your design gets its own dedicated screen, and the ink is applied one layer at a time in sequence. The result is a thick, opaque, and vibrant print that sits on top of the fabric rather than soaking into it. That bold, saturated look is what separates screen-printed shirts from other methods like direct-to-garment (DTG) printing or heat transfer vinyl.
Screen printing produces some of the most durable prints available on fabric, which is why it has remained the industry standard for custom apparel orders for decades.
How screen printing differs from other methods
Not every printing method is the right fit for every project. Screen printing stands apart because it deposits a thick, consistent layer of ink onto the fabric, which holds its color far longer than inkjet-based methods. DTG printing works well for complex photographic designs on very small orders, but the prints tend to fade faster and cost significantly more per piece once your quantities grow. Heat transfer vinyl is another common option, but it’s best reserved for single pieces or very small runs because scaling it becomes expensive fast.
Screen printing also wins on color vibrancy on dark fabrics, where you need the ink to sit boldly on top rather than blend into the garment. If you’re printing for a business, a sports team, or a company event, screen printing gives you the best combination of print quality and cost per unit at almost any realistic quantity.
When screen printing makes sense for your order
Knowing how screen printing works on t-shirts is useful context, but understanding when to use it will save you real time and money. Screen printing is the right call when you’re ordering 12 or more pieces that all carry the same design. The table below gives you a quick reference:
| Situation | Screen printing a good fit? |
|---|---|
| 12+ shirts with the same design | Yes |
| 1-2 shirts with a one-off photo | No |
| Work uniforms or team shirts | Yes |
| Full-color photographic prints | Sometimes, using halftone technique |
| Simple 1-4 color logo or text design | Yes |
| Individual names printed on each shirt | No |
Designs with fewer colors are the most affordable to screen print because each color requires its own screen and setup time. A 1 to 4 color logo on a run of 24 shirts is exactly where screen printing delivers strong quality at a competitive price point. If your design pushes past 6 or 8 colors, talk through your options with a professional printer before you commit, because complexity adds cost at every stage of production.
Step 1. Prepare artwork and separate colors
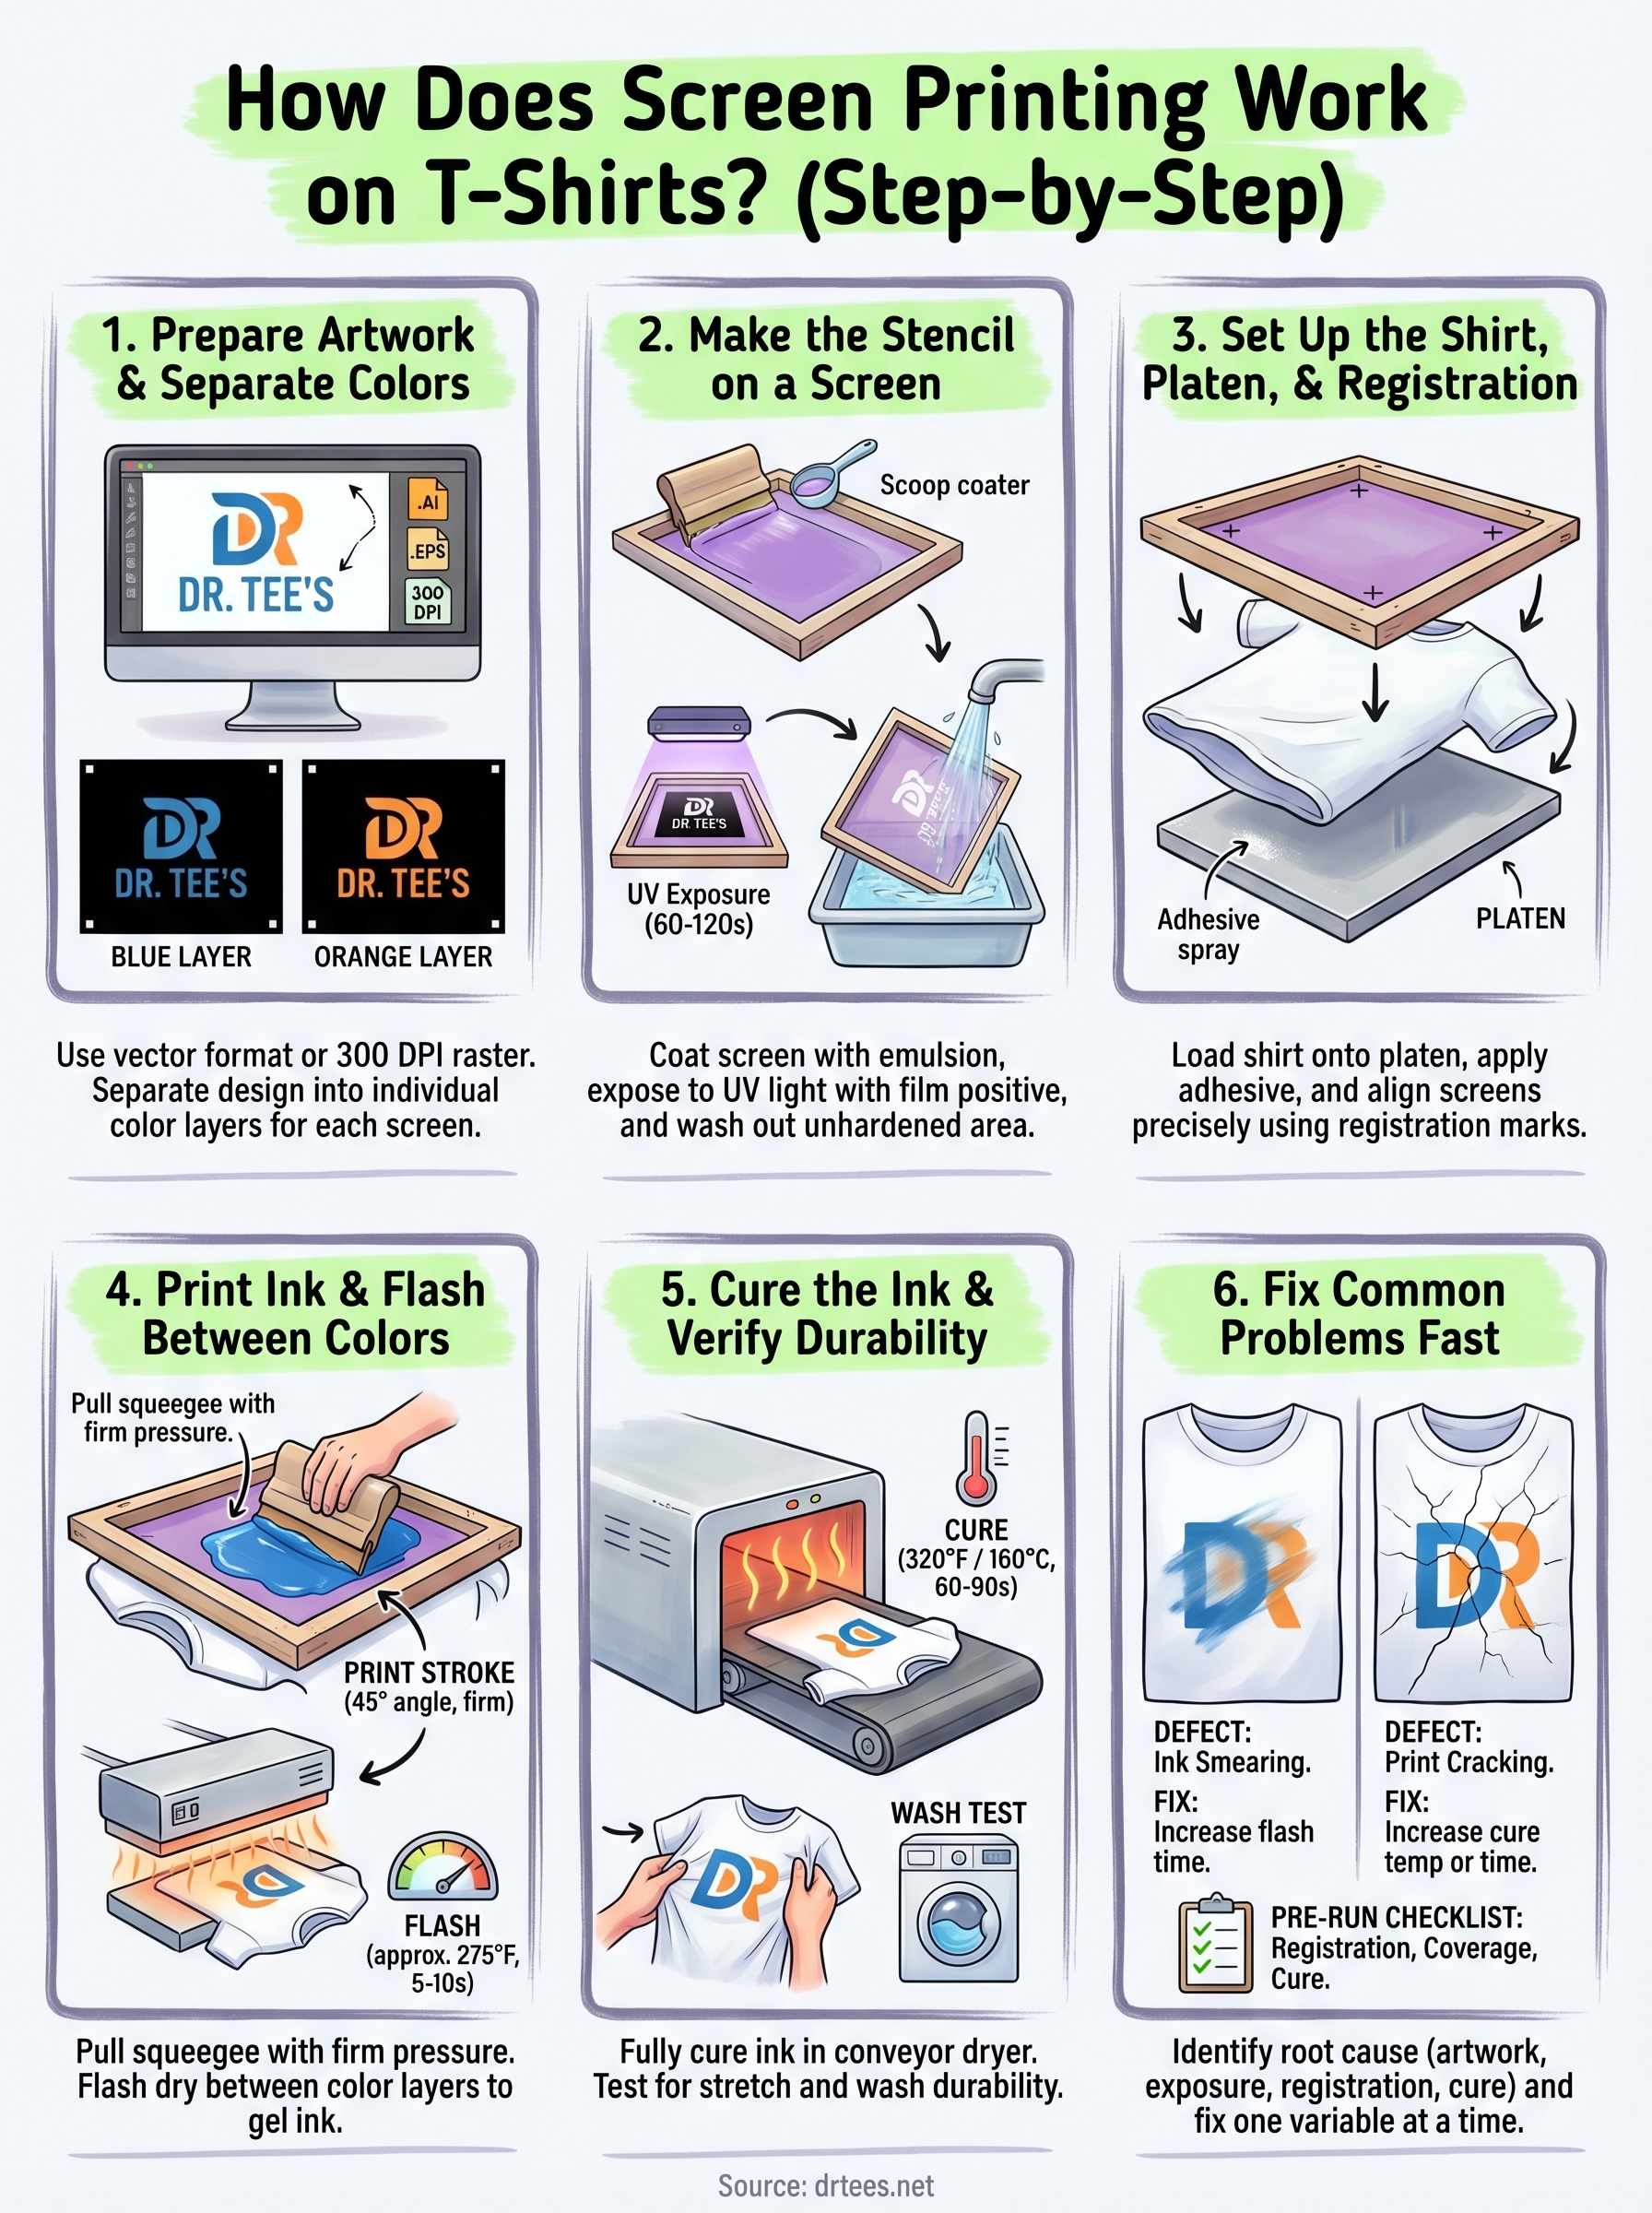
Good artwork is the foundation of a good print. Before any ink touches fabric, you need a design file that’s ready for the screen printing process. That means working in vector format (such as an .AI or .EPS file) or a high-resolution raster file at 300 DPI or higher. Low-resolution artwork pulled from a website will look blurry when enlarged to shirt size, and no amount of production skill fixes a bad file.
What makes a file print-ready
Your design needs to be clean, sharp, and built with solid, defined colors rather than soft gradients or drop shadows, unless you’re specifically requesting a halftone technique. Each color in your design becomes its own screen, so the more colors you include, the more screens need to be made and the higher your setup cost. Limiting your palette to 1 to 4 colors is the most cost-effective approach for most business orders.
A print-ready file checklist:
- Vector file (.AI, .EPS, .PDF) or 300 DPI raster (.PSD, .PNG with transparent background)
- Fonts converted to outlines so they don’t shift on another machine
- Colors labeled in Pantone (PMS) codes for accurate ink matching
- No gradients unless halftone is specified and approved
- Clean edges with no stray pixels or background artifacts
How color separation works
Color separation is the process of splitting your design into individual layers, one per color, so each layer can be burned onto its own screen. If your logo uses navy blue, white, and gold, those three colors get separated into three distinct film positives. A film positive is a printout of each color layer on clear acetate or vellum, printed in solid black, which is then used to expose the screen in the next step.
Accurate color separation is what separates a crisp, professional result from a muddy, misregistered print, and it’s where understanding how does screen printing work on t shirts really pays off.
Providing your printer with a clean, separated file from the start saves time, reduces errors, and keeps your project on schedule.
Step 2. Make the stencil on a screen
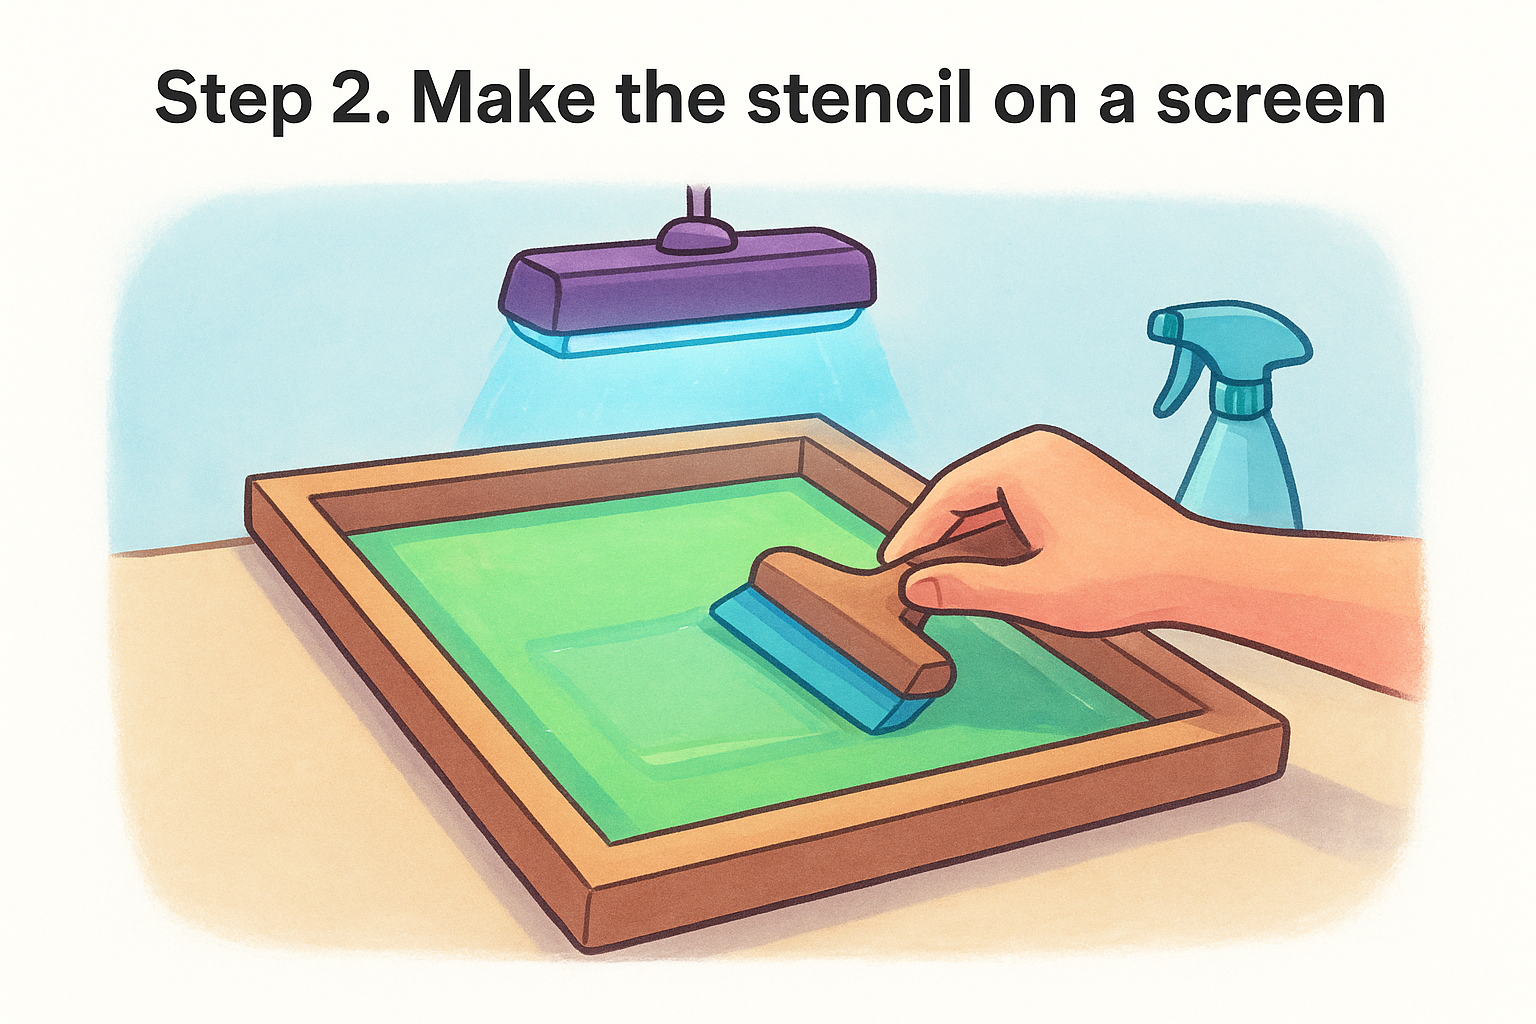
The screen is a tightly stretched mesh frame, traditionally made from silk but now almost universally made from polyester. To turn that mesh into a usable stencil, you coat it with a light-sensitive emulsion that hardens when exposed to UV light. This is the step that physically defines where ink can and cannot pass through the screen, making it one of the most critical stages in the entire process.
How the emulsion and screen work together
You apply the emulsion to the mesh in a thin, even layer using a squeegee-like tool called a scoop coater, then let the screen dry completely in a dark room. Once dry, you lay your film positive directly on top of the coated screen and expose it to a UV light source for a precise amount of time, typically between 60 and 120 seconds depending on the emulsion brand and light intensity. The UV light hardens every part of the emulsion it touches, except where the black ink on your film positive blocks the light.
Getting the exposure time right is what separates a screen that holds detail cleanly from one that bleeds or breaks down mid-run.
Exposing and washing the screen
After exposure, you take the screen to a washout station and rinse it with water. The areas that were blocked from UV light by your design wash away, leaving open mesh where the ink will pass through during printing. The hardened emulsion surrounding your design stays in place as the permanent stencil boundary. This is how does screen printing work on t shirts at its most mechanical level: ink passes through open mesh and is blocked everywhere else.
Once the screen is washed, you inspect it under a bright light for pinholes or missed spots, then tape off any open areas around the edges before setting it on the press.
Step 3. Set up the shirt, platen, and registration
Before any ink hits fabric, you need to load the shirt correctly and lock in your registration. This step determines whether your design lands exactly where it should on every shirt in your run. A sloppy setup here means crooked prints, wasted garments, and reprints that eat into your budget.
How the platen works
The platen is a flat, rectangular board that slides onto the press arm and holds the shirt taut during printing. Platens come in different sizes to match different garment dimensions, and choosing the right platen size for your shirt is the first decision you make at this stage. You slide the shirt over the platen like a sleeve, smooth out any wrinkles, and apply a thin coat of pallet adhesive spray to the surface to keep the fabric from shifting mid-print.
A wrinkle left under the screen before printing will show up as a distorted line in your finished print, and there is no correcting it after the ink cures.
Getting registration right
Registration is the process of aligning each screen precisely so every color layer lands in exactly the right position relative to the others. You load the first screen onto the press, lower it over a test shirt, and use registration marks (small crosshair symbols printed just outside your design area on each film positive) to confirm the placement matches your approved art proof. Once the first screen checks out, you lock it down and repeat the alignment for every additional color screen.
A quick registration checklist to run through before your first pull:
- Screen is lowered flush and level against the platen
- Design is centered or positioned per the approved proof
- Registration marks on each screen align with the base layer
- Off-contact distance (the small gap between screen and shirt) is set consistently across all screens
Skipping any of these checks leads to misregistered prints where color layers don’t align, which is one of the most preventable problems in understanding how does screen printing work on t shirts at a production level.
Step 4. Print ink and flash between colors
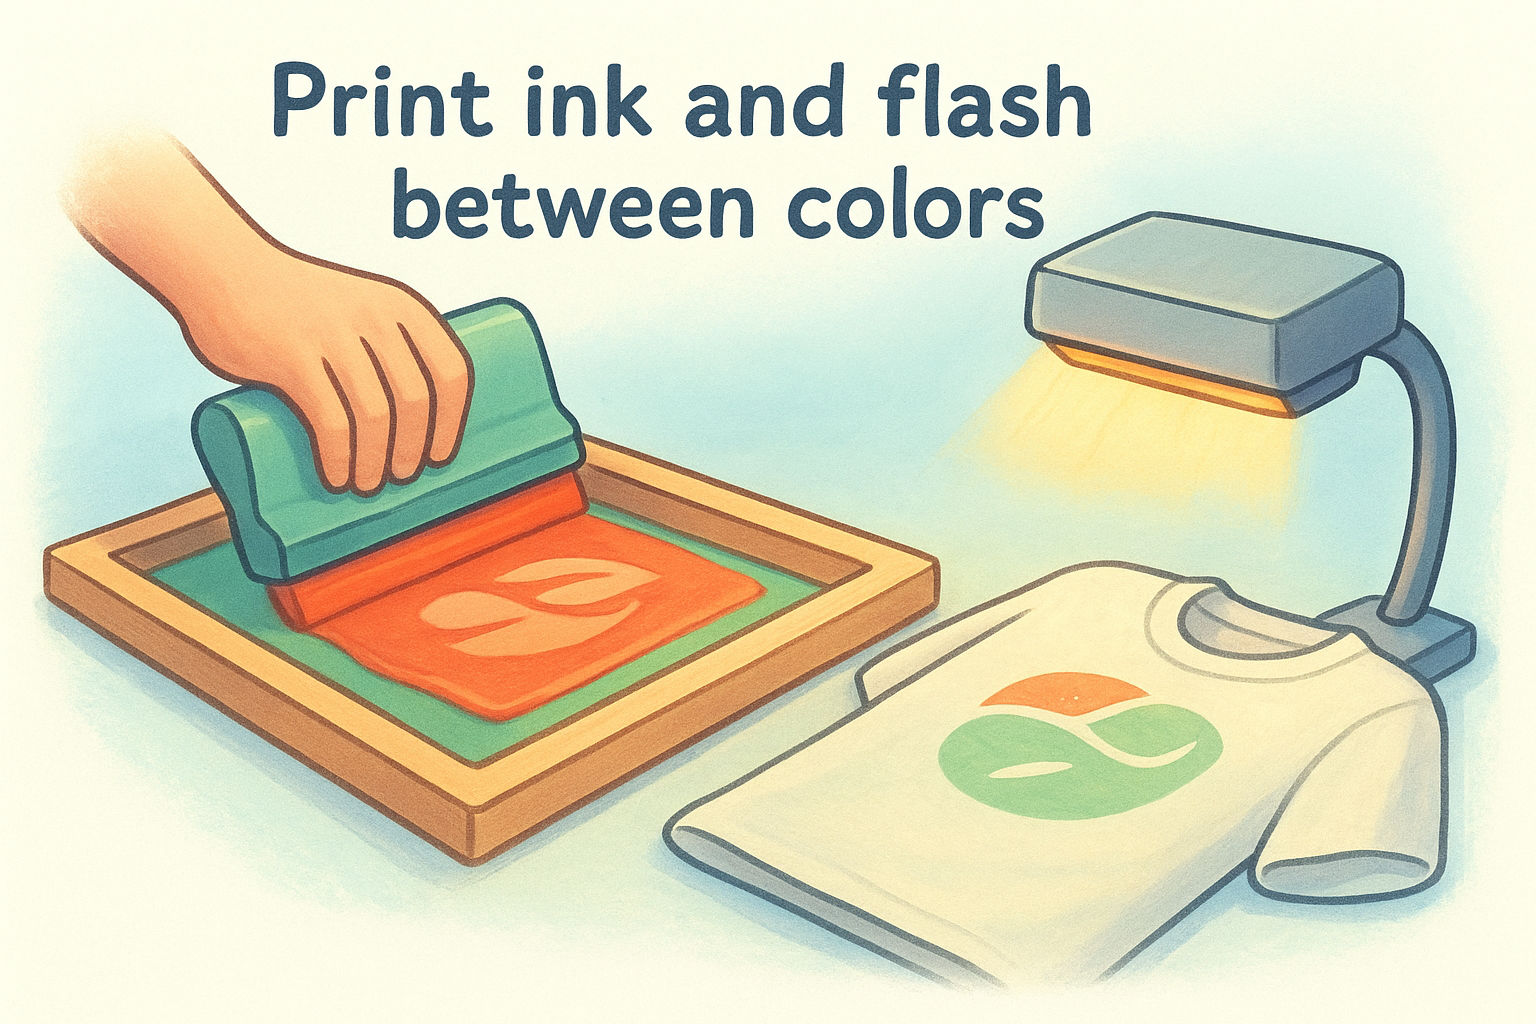
With your screens locked in and your shirt loaded flat on the platen, you’re ready to actually push ink. This is where how does screen printing work on t shirts becomes physical: you flood the screen with ink, then use a firm rubber squeegee to pull it across the design area in one controlled stroke. The angle, pressure, and speed of that pull determine whether your print comes out crisp and saturated or thin and uneven.
How to pull a proper ink stroke
Start by flooding the screen before your print stroke. Flooding means pulling the squeegee across the screen in the opposite direction at a low angle with light pressure, which loads ink into the mesh without pushing it through. Then flip the squeegee to roughly 45 degrees and pull it firmly across the design in one smooth, steady motion toward you. One firm pull is usually enough for most plastisol inks on light-colored shirts. On dark garments, you may need a second pull to build opacity.
A squeegee angle that is too flat deposits too much ink and causes bleeding; too steep and you’ll get a thin, washed-out print with poor coverage.
When and how to flash between colors
Flashing is a short burst of heat applied between color layers using a portable flash dryer unit positioned directly over the shirt. You flash a color when the next ink layer needs to print on top of it without mixing. Most flashes run between 5 and 10 seconds at around 275°F, just long enough to gel the ink so it accepts the next layer cleanly without fully curing it.
A simple flash timing reference:
| Ink layer situation | Flash needed? | Approximate flash time |
|---|---|---|
| Light on light, single color | No | None |
| Dark base on black shirt | Yes | 6 to 10 seconds |
| Second color overlapping first | Yes | 5 to 8 seconds |
| Final color before cure | No | None |
After flashing, check the ink surface with a light fingertip touch before loading the next screen. If it transfers onto your finger, it needs more flash time.
Step 5. Cure the ink and verify durability
Curing is the step that determines whether your print survives 50 washes or starts cracking after three. Plastisol ink, the most common ink type used in professional screen printing, does not air-dry on its own. It requires a sustained heat source to fully polymerize the ink particles and bond them permanently to the fabric fibers. Skipping a proper cure or rushing through it is the single most common reason a print fails in the field.
How to cure plastisol ink correctly
You cure plastisol ink by running the shirt through a conveyor dryer at a consistent temperature across the full thickness of the ink deposit. The standard cure target for most plastisol inks is 320°F (160°C) held for 60 to 90 seconds, though you should always confirm the exact specification on your ink manufacturer’s data sheet. A conveyor dryer moves the shirt slowly through a heated tunnel, which ensures even heat penetration rather than the surface-only heat a flash unit produces.
The ink must reach the cure temperature all the way through, not just on the surface, or the print will crack and wash out within weeks.
| Method | Temperature | Duration | Suitable for production? |
|---|---|---|---|
| Conveyor dryer | 320°F (160°C) | 60 to 90 seconds | Yes |
| Heat gun (DIY) | 320°F (160°C) | 60 to 90 seconds per section | Limited, inconsistent |
| Flash dryer alone | 275°F (135°C) | Not recommended for full cure | No |
How to test whether a print will last
Once the shirt cools, you verify the cure with two quick tests before releasing your full run. The stretch test involves pulling the printed area firmly in opposite directions; a properly cured print stretches with the fabric and snaps back without cracking. The wash test means running one sample shirt through a full hot-water wash cycle and checking for ink loss, fading, or cracking afterward. If you understand how does screen printing work on t shirts at this stage, you know that a print passing both tests is ready to ship.
Step 6. Fix common screen printing problems fast
Even experienced printers run into defects on a production run. Knowing what caused the problem is the fastest way to fix it and prevent it from showing up on the rest of your shirts. Most issues in understanding how does screen printing work on t shirts trace back to one of four root causes: bad artwork, improper exposure, registration drift, or incorrect cure.
Identify the defect before you adjust anything
The most common mistake when something goes wrong is changing multiple variables at once, which makes it impossible to identify which fix actually worked. When you spot a defect, stop the press, pull the shirt off the platen, and examine it in good light before touching your setup.
Changing one variable at a time is the only way to diagnose a print problem accurately and avoid making it worse.
The table below covers the defects you’re most likely to encounter and the direct fix for each:
| Defect | Most likely cause | Fix |
|---|---|---|
| Ink bleeding outside the design edge | Too much squeegee pressure or ink | Reduce pressure, use one firm stroke |
| Colors not aligning between layers | Registration drift mid-run | Re-check and re-lock all screens |
| Print cracking after one wash | Ink not fully cured | Increase dryer time or temperature |
| Pinholes in solid ink areas | Emulsion pinholes or thin ink deposit | Patch screen or add a second stroke |
| Ink smearing on the shirt surface | Flash time too short between layers | Add 2 to 3 seconds to your flash cycle |
| Faded or washed-out coverage | Mesh count too high for ink type | Switch to a lower mesh count screen |
Build a short pre-run checklist
Catching these problems before your full run saves garments and reprints. Run five test shirts at the start of every job and check registration, ink coverage, and cure before you commit to your full quantity. A quick written checklist posted at your press keeps every operator consistent across the production run.
Where to go from here
Now you know how does screen printing work on t shirts from start to finish, covering artwork prep, screen making, registration, ink application, curing, and troubleshooting. That knowledge puts you in a much stronger position whether you’re planning to print shirts yourself or working with a professional shop to get your order done right.
If you’re ready to move forward with custom screen-printed shirts for your business, team, or organization, Dr. Tee’s Design & Screen Printing has handled orders just like yours for over 20 years out of Kansas City. You can start small with a minimum of 12 pieces or scale up to 1,000 with the same level of care on every run. Check out our step-by-step order process to see exactly how working with us looks from your first contact to your finished shirts landing in your hands.
